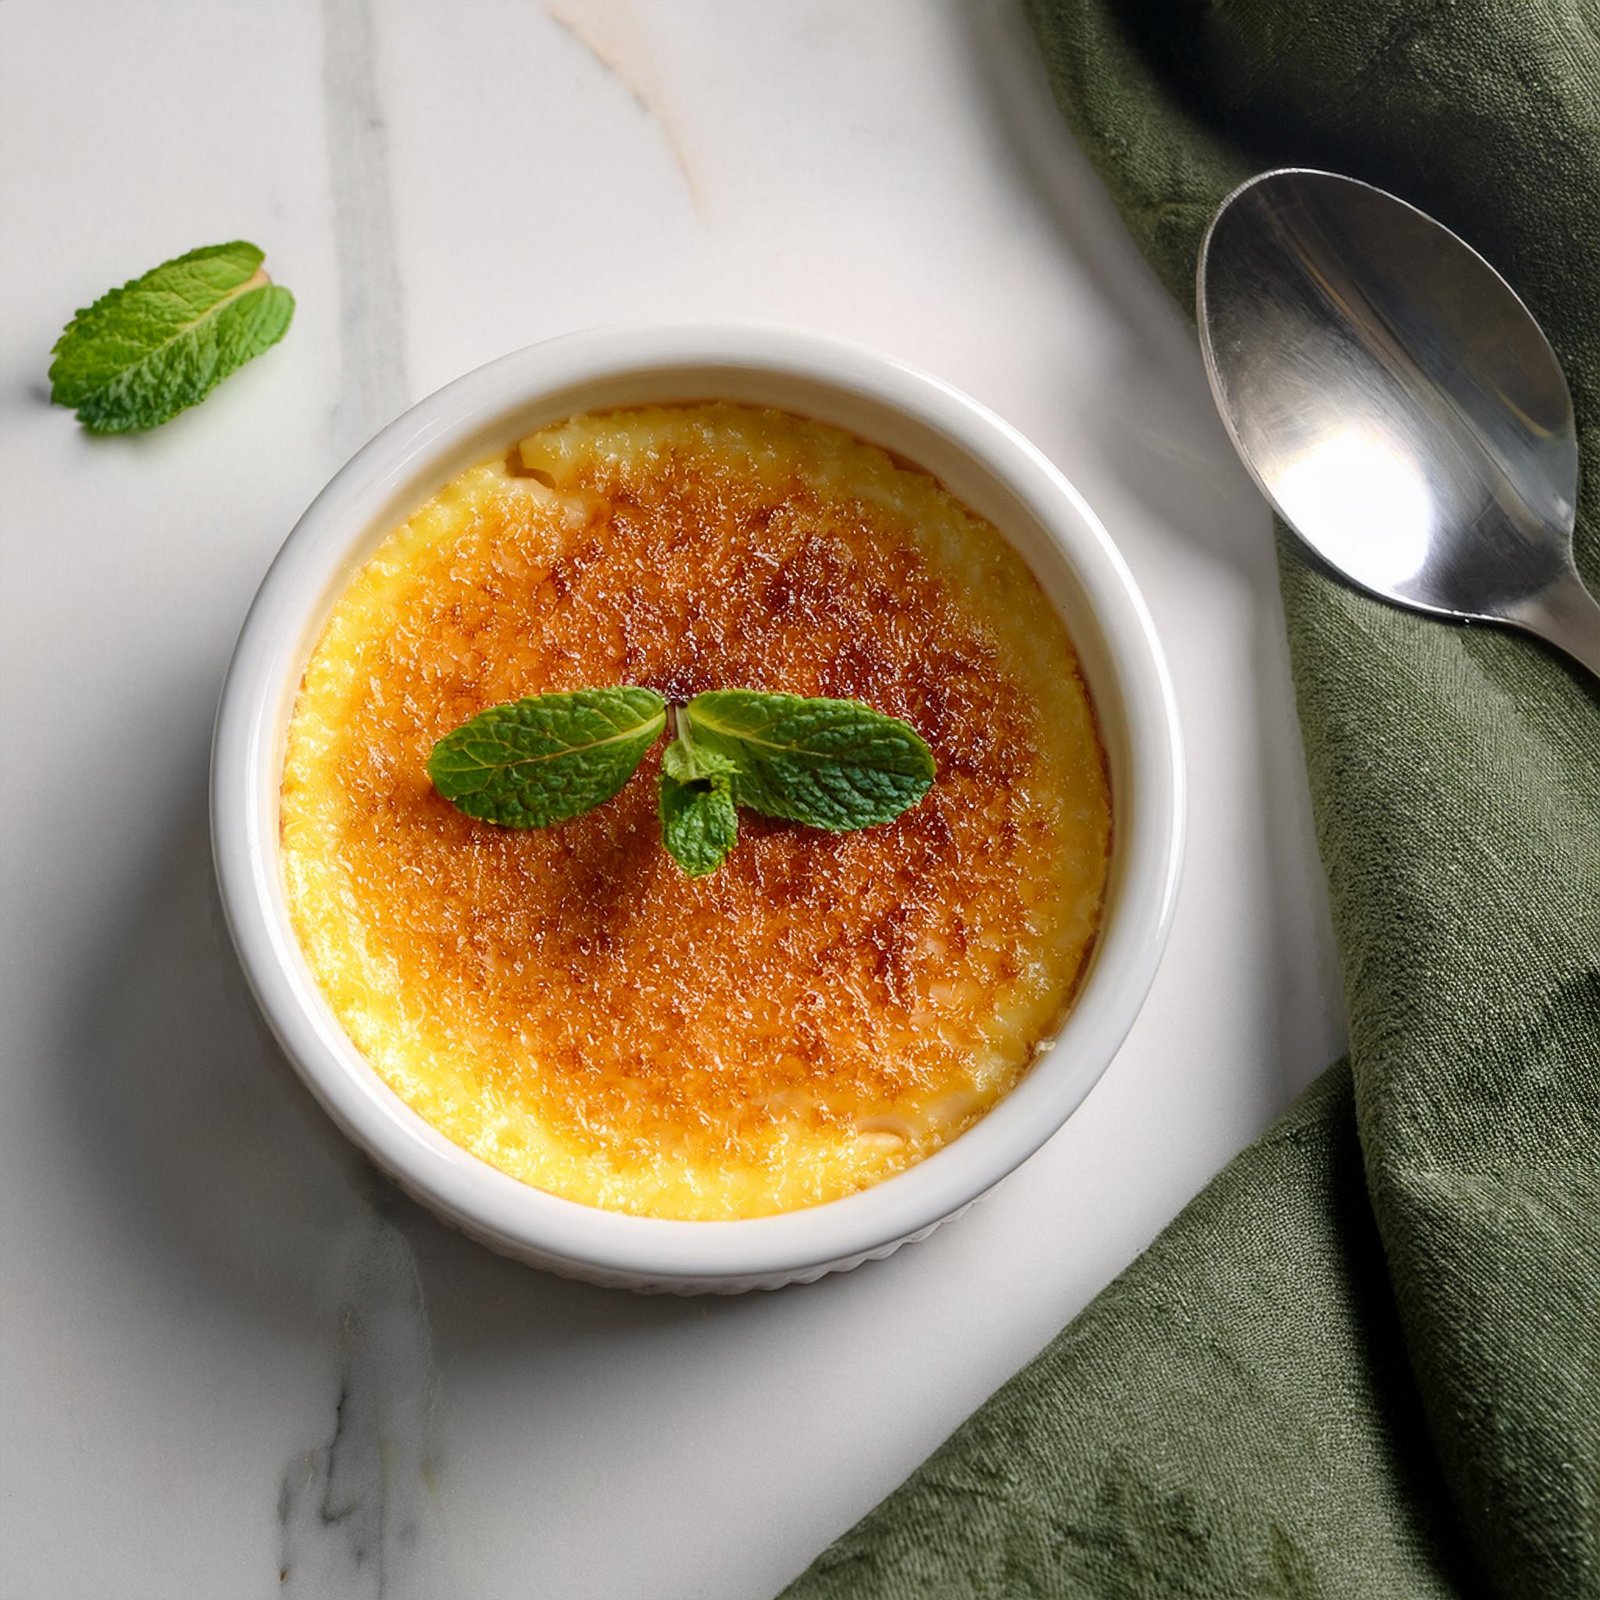
What is the secret to crème brûlée? This timeless dessert epitomizes elegance with its rich, creamy custard base and crisp caramelized sugar topping. The combination of luxurious textures and balanced flavors has made crème brûlée a favorite in both fine dining and home kitchens. While the recipe may appear simple, achieving perfection requires mastering a few key techniques and paying attention to every detail.
The secret to perfect crème brûlée lies in selecting the finest ingredients, using precise baking methods, and achieving an ideal sugar crust. These steps ensure a silky custard and a beautifully caramelized topping that crackles with every bite. Whether you’re a beginner or an experienced chef, understanding what is the secret to crème brûlée? will elevate your dessert-making skills and deliver stunning results.
In this guide, we’ll unlock the essential tips and techniques behind crème brûlée, helping you craft a restaurant-quality dessert that impresses every time. Once you know what is the secret to crème brûlée?, you’ll be ready to delight your guests with this classic treat!
What Is the Secret to Crème Brûlée? The Importance of Quality Ingredients
The foundation of an exceptional crème brûlée starts with selecting high-quality ingredients. Each component plays a crucial role in the dessert’s flavor and texture.
Heavy Cream
- Why It’s Essential:
- Heavy cream forms the custard’s rich and velvety base. Its high fat content creates the luxurious texture that defines crème brûlée.
- Pro Tip:
- Avoid substituting with milk or low-fat cream, as they lack the richness required for this dessert.
Egg Yolks
- Purpose:
- Egg yolks act as a thickening agent, giving the custard its smooth and creamy consistency.
- Pro Tip:
- Use fresh, large egg yolks for the best results. Whisk them gently to avoid incorporating too much air, which can create bubbles in the custard.
Sugar
- Custard Sweetener:
- Granulated sugar is used to sweeten the custard. Its quantity should balance the richness without overpowering the vanilla flavor.
- Caramelized Topping:
- Use fine or granulated sugar for the topping, as it melts evenly and caramelizes to form a crispy crust.
Vanilla
- Flavor Foundation:
- Vanilla provides the signature aroma and flavor of crème brûlée.
- Options:
- Use a fresh vanilla bean for the most intense flavor. If unavailable, high-quality pure vanilla extract is a great alternative.
Pro Tip: For a gourmet touch, infuse the cream with a split vanilla bean by simmering and steeping it before mixing.
Perfecting the Custard Base
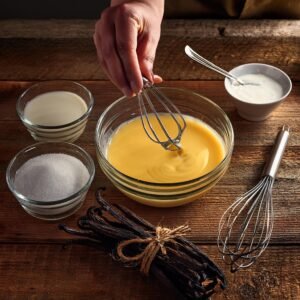
The custard base is the heart of crème brûlée, and achieving its smooth, creamy texture requires precision and care. Here’s how to master this crucial step:
Mixing the Ingredients
- Whisking the Yolks and Sugar:
- Gently whisk the egg yolks and sugar until the mixture is pale yellow and slightly thickened. Overwhisking can create air bubbles, leading to a less creamy texture.
- Heating the Cream:
- Warm the heavy cream over medium heat until just below boiling. This helps dissolve the sugar and enhances the custard’s smooth consistency.
- Pro Tip: If using a vanilla bean, infuse it into the cream at this stage for a deeper flavor. Remove the bean and scrape out the seeds before mixing.
- Tempering the Eggs:
- Gradually add the warm cream to the egg yolk mixture in a slow stream, whisking constantly. This process, called tempering, prevents the eggs from cooking and ensures a smooth custard.
Straining the Mixture
- Why Strain?
- Straining removes any cooked egg bits or air bubbles, resulting in a silky custard.
- How to Strain:
- Pour the custard mixture through a fine-mesh sieve into a clean bowl or pitcher before filling the ramekins.
Baking the Custard
- Using a Water Bath (Bain-Marie):
- Place the ramekins in a deep baking dish and fill the dish with hot water until it reaches halfway up the sides of the ramekins.
- The water bath prevents the custard from overheating and cracking during baking.
- Oven Temperature:
- Bake at 325°F (160°C) for 30–40 minutes, or until the custard is set but still jiggles slightly in the center.
- Testing Doneness:
- Lightly tap the side of a ramekin. The edges should be firm, but the center should wobble like gelatin.
Cooling and Chilling
- Cooling:
- Remove the ramekins from the water bath and let them cool to room temperature. This prevents condensation from forming on the custard.
- Chilling:
- Cover the ramekins with plastic wrap and refrigerate for at least 2–4 hours, or overnight, to fully set the custard and develop its flavors.
Pro Tip: Avoid skipping the chilling step—it’s key to achieving the perfect texture and flavor balance.
Achieving the Perfect Caramelized Crust

The caramelized sugar crust is the hallmark of crème brûlée, providing a delightful crunch that contrasts with the creamy custard underneath. Here’s how to create a flawless topping every time:
Choosing the Right Sugar
- Granulated Sugar:
- Standard granulated sugar works well for a smooth and even caramelized crust.
- Superfine Sugar:
- For a quicker, more uniform caramelization, opt for superfine sugar, which melts faster under heat.
Pro Tip: Avoid powdered sugar, as it tends to clump and doesn’t caramelize evenly.
Adding the Sugar Layer
- Even Distribution:
- Sprinkle about 1–2 teaspoons of sugar evenly over the surface of the chilled custard.
- Tilt the ramekin and rotate it to ensure full coverage. Excess sugar can be tapped off.
- Thickness Matters:
- Keep the layer thin but even. A thick sugar layer may burn before fully melting.
Caramelizing the Sugar
- Using a Kitchen Torch:
- Hold the torch a few inches above the sugar surface and move it in small circular motions to melt the sugar evenly.
- Watch closely to prevent burning—aim for a golden-brown color with slight bubbling.
- Broiler Method:
- If you don’t have a torch, place the ramekins under a preheated broiler on high.
- Broil for 1–2 minutes, keeping a close eye to prevent overcooking. Rotate the ramekins as needed for even caramelization.
Pro Tip: Let the caramelized crust cool for 1–2 minutes to harden before serving.
Testing the Crust
- Signature Crack Test:
- Gently tap the sugar crust with the back of a spoon. A perfect crust will crack easily, revealing the creamy custard beneath.
- Texture Contrast:
- The crust should be crisp and thin, offering a satisfying crunch without overpowering the custard’s flavor.
Temperature Control: The Ultimate Secret
Mastering temperature control is one of the most critical elements in creating a perfect crème brûlée. Each stage—mixing, baking, chilling, and serving—requires precise temperatures to achieve the desired texture and flavor.
Mixing and Tempering
- Warm the Cream, Not Boil It:
- Heat the cream until just below boiling (about 180°F / 82°C) to avoid scalding. Scalded cream can develop an unpleasant flavor and affect the custard’s texture.
- Tempering the Eggs:
- When combining warm cream with egg yolks, the cream should be warm (not hot) to prevent the eggs from scrambling. Aim for a cream temperature of around 110–120°F (43–49°C) during tempering.
Baking Temperature
- Low and Steady Heat:
- Bake at 325°F (160°C) to cook the custard evenly without curdling or forming cracks. High temperatures can overcook the edges while leaving the center underdone.
- Water Bath Temperature:
- Use hot water in the bain-marie, ideally around 150°F (65°C), to provide a gentle, even heat distribution.
Pro Tip: Use an oven thermometer to ensure accuracy, as oven temperatures can vary significantly.
Chilling
- Refrigeration:
- After baking, let the custards cool at room temperature before covering them with plastic wrap and refrigerating. Chill for at least 2–4 hours to allow the flavors to meld and the texture to fully set.
- Avoid Over-Chilling:
- While crème brûlée can be made a day in advance, avoid chilling for more than 24 hours, as the custard may lose its creamy texture.
Serving Temperature
- Cold Custard with Warm Crust:
- The custard should be chilled (around 40°F / 4°C) with a freshly caramelized sugar crust that’s slightly warm.
- Avoid Serving Too Cold or Warm:
- If the custard is too cold, it can feel overly firm. If too warm, it may become runny.
Troubleshooting Common Mistakes

Even with careful preparation, issues can arise when making crème brûlée. Here’s how to troubleshoot the most common problems:
Runny Custard
Causes:
- Undercooked custard or insufficient chilling time.
Fix:
- Ensure the custard is baked until the edges are set and the center jiggles slightly. Chill for the recommended time before serving.
Grainy Texture
Causes:
- Overcooked custard due to high oven temperature or prolonged baking.
Fix:
- Use a water bath and bake at the correct temperature. Monitor closely to avoid overbaking.
Cracked Custard
Causes:
- Overbaking or cooling the custard too quickly.
Fix:
- Bake at a lower temperature and cool the custards gradually at room temperature before refrigerating.
Overly Hard Sugar Crust
Causes:
- Too much sugar or prolonged caramelization.
Fix:
- Use a thin, even layer of sugar and caramelize gently with a torch or broiler.
FAQs About: What Is the Secret to Crème Brûlée?
u003cstrongu003eHow to Get the Perfect Crème Brûlée Top?u003c/strongu003e
u003cbru003eu003cstrongu003eThin and Even Sugar Layeru003c/strongu003e: Use about 1–2 teaspoons of granulated or superfine sugar and spread it evenly over the custard’s surface.u003cbru003eTilt and rotate the ramekin to ensure uniform coverage.u003cbru003eu003cstrongu003eCaramelize Properlyu003c/strongu003e: Use a kitchen torch, holding it a few inches from the surface, and move the flame in small circular motions to evenly melt the sugar.u003cbru003eAim for a golden-brown crust with slight bubbling.u003cbru003eu003cstrongu003eBroiler Alternativeu003c/strongu003e: Place ramekins under a preheated broiler for 1–2 minutes, watching closely to prevent burning. Rotate as needed for an even result.u003cbru003eu003cstrongu003ePro Tipu003c/strongu003e: Allow the caramelized crust to cool for 1–2 minutes before serving so it hardens perfectly and offers a satisfying crack when tapped with a spoon.
u003cstrongu003eShould You Cover Crème Brûlée in the Fridge?u003c/strongu003e
u003cbru003eYes, crème brûlée should be covered in the fridge to maintain its freshness and prevent it from absorbing odors.u003cbru003eUse u003cstrongu003eplastic wrap or a lidu003c/strongu003e, ensuring it doesn’t touch the custard surface to avoid ruining the texture.u003cbru003eCovering the ramekins also helps retain moisture, keeping the custard creamy and smooth.u003cbru003eu003cstrongu003ePro Tipu003c/strongu003e: Chill the custards for at least 2–4 hours before serving, but avoid storing for more than 24 hours for the best texture and flavor.
u003cstrongu003eWhat Makes a Good Crème Brûlée?u003c/strongu003e
u003cbru003eu003cstrongu003eSilky Custardu003c/strongu003e: A perfect crème brûlée has a rich, creamy texture that melts in your mouth without being overly dense. Achieving this requires: Using high-quality cream and egg yolks.u003cbru003eBaking the custard gently in a water bath.u003cbru003eu003cstrongu003eGolden, Crisp Toppingu003c/strongu003e: A properly caramelized sugar crust should crack under a spoon and offer a sweet contrast to the custard.u003cbru003eu003cstrongu003eBalanced Flavoru003c/strongu003e: A good crème brûlée balances sweetness with the subtle, aromatic flavor of vanilla.u003cbru003eu003cstrongu003ePro Tipu003c/strongu003e: Avoid over-sweetening or over-caramelizing, which can overpower the dessert’s delicate balance.
u003cstrongu003eHow to Mess Up Crème Brûlée?u003c/strongu003e
u003cbru003eu003cstrongu003eOvercooking the Custardu003c/strongu003e: Leads to a grainy texture instead of a creamy consistency.u003cbru003ePrevent this by using a water bath and monitoring the baking time closely.u003cbru003eu003cstrongu003eSkipping the Tempering Processu003c/strongu003e: Adding hot cream too quickly to the egg yolks can scramble them, ruining the custard.u003cbru003eu003cstrongu003eThick or Burned Sugar Layeru003c/strongu003e: Using too much sugar or over-caramelizing can result in an overly hard or bitter crust.u003cbru003eu003cstrongu003eImproper Chillingu003c/strongu003e: Failing to chill the custard sufficiently can result in a runny texture.u003cbru003eu003cstrongu003eUneven Mixingu003c/strongu003e: Incorporating too much air while whisking the eggs and sugar can create bubbles and an uneven texture.u003cbru003eu003cstrongu003ePro Tipu003c/strongu003e: Following each step carefully and maintaining temperature control ensures a flawless crème brûlée every time.
Suggested Internal Links :
- What Is Crème Brûlée Mostly Made Of?
Learn about the essential ingredients that contribute to the perfect crème brûlée.
- How Should Crème Brûlée Be Served?
Discover serving tips and garnishing ideas to elevate your presentation.
- What’s the Difference Between Crème Brûlée and Custard?
Explore how crème brûlée stands apart from other custard-based desserts.
- What Type of Cream Is Best for Crème Brûlée?
Understand how cream selection impacts the dessert’s texture and flavor.
- How to Make a Unicorn Cake?
Get creative with dessert techniques that can enhance your crème brûlée-making skills.
Conclusion About : What Is the Secret to Crème Brûlée?
Mastering What is the secret to crème brûlée? is a rewarding journey that combines precision, quality ingredients, and careful attention to technique. From creating a silky-smooth custard to perfecting the crisp, caramelized sugar topping, every detail is essential to crafting this elegant dessert.
By embracing the tips in this guide—such as proper tempering, using a water bath, and evenly caramelizing the sugar—you’ll unlock the answer to What is the secret to crème brûlée? and produce a dessert that rivals restaurant-quality creations. Its luxurious texture and harmonious flavors make it an impressive choice for special occasions or an indulgent treat for yourself.
So, gather your ramekins and ingredients, and take on the art of crème brûlée with confidence. With a little practice and attention to What is the secret to crème brûlée?, you’ll master this timeless classic and wow everyone with its irresistible charm!
Craving more tasty recipes? Make sure to follow us on Facebook , Instagram, Pinterest, and Twitter for daily updates and kitchen inspiration!
Custard Base
- 2 cups heavy cream A high-fat cream is essential for a rich texture.
- 4 large egg yolks Fresh egg yolks will give the best results.
- 1/2 cup granulated sugar Used to sweeten the custard.
- 1 tbsp pure vanilla extract Can substitute with a split vanilla bean.
Caramelized Topping
- 4 tbsp granulated sugar Sprinkle evenly over the custard before caramelizing.
Mixing the Ingredients
Gently whisk the egg yolks and sugar until pale yellow and slightly thickened.
Warm the heavy cream over medium heat until just below boiling.
Gradually add the warm cream to the egg yolk mixture while whisking constantly (tempering).
Straining and Baking
Strain the mixture through a fine-mesh sieve into a clean bowl to remove any cooked egg bits.
Pour the custard into ramekins and place them in a deep baking dish filled with hot water (bain-marie).
Bake in a preheated oven at 325°F (160°C) for 30-40 minutes.
Cooling and Chilling
Remove the ramekins and let them cool to room temperature.
Cover with plastic wrap and refrigerate for at least 2-4 hours or overnight.
Caramelizing the Sugar
Sprinkle an even layer of sugar over the chilled custard.
Using a kitchen torch, melt the sugar evenly until a golden-brown crust forms.
Alternatively, broil for 1-2 minutes monitoring closely.
Serving
Allow the caramelized crust to cool for 1-2 minutes before serving.
Gently tap with a spoon to break the crust and enjoy the dessert.
Ensure to avoid overcooking to maintain a silky texture. Proper chilling is key to flavor development.