Introduction
When deciding on the best temperature for baking chicken, understanding how it affects texture, flavor, and cooking time is key. The common choices, 350°F (175°C) and 400°F (200°C), each have unique benefits, making the answer to “Is it better to bake chicken at 350 or 400?” dependent on your desired results.
At 350°F, chicken cooks gently and evenly, delivering tender and juicy results, particularly for lean cuts like chicken breasts or whole birds. This slower approach minimizes the risk of overcooking and ensures a succulent texture. On the other hand, baking at 400°F creates a crispier exterior and deeper caramelized flavors, perfect for fattier cuts like thighs and wings.
So, which should you choose? This guide explores the pros of each method, offers expert tips, and helps you decide whether 350°F or 400°F is better for achieving perfectly baked chicken every time.
The Case for Baking Chicken at 350°F
Baking chicken at 350°F is a classic method favored for its gentle heat, which allows the chicken to cook thoroughly without drying out.
Benefits of Baking at 350°F
- Tender and Juicy Results:
- The lower temperature allows the chicken to retain its moisture, making it an excellent choice for lean cuts like chicken breasts that can dry out easily.
- Even Cooking:
- The moderate heat ensures uniform cooking, which is particularly important for thicker cuts or whole chickens.
- Forgiving Method:
- At 350°F, you have a bit more flexibility with timing, reducing the chances of overcooking your chicken.
Best Cuts for Baking at 350°F
- Boneless Chicken Breasts: Lean and prone to drying out, they benefit from the gentler heat.
- Stuffed Chicken: Ensures the filling cooks properly without burning the exterior.
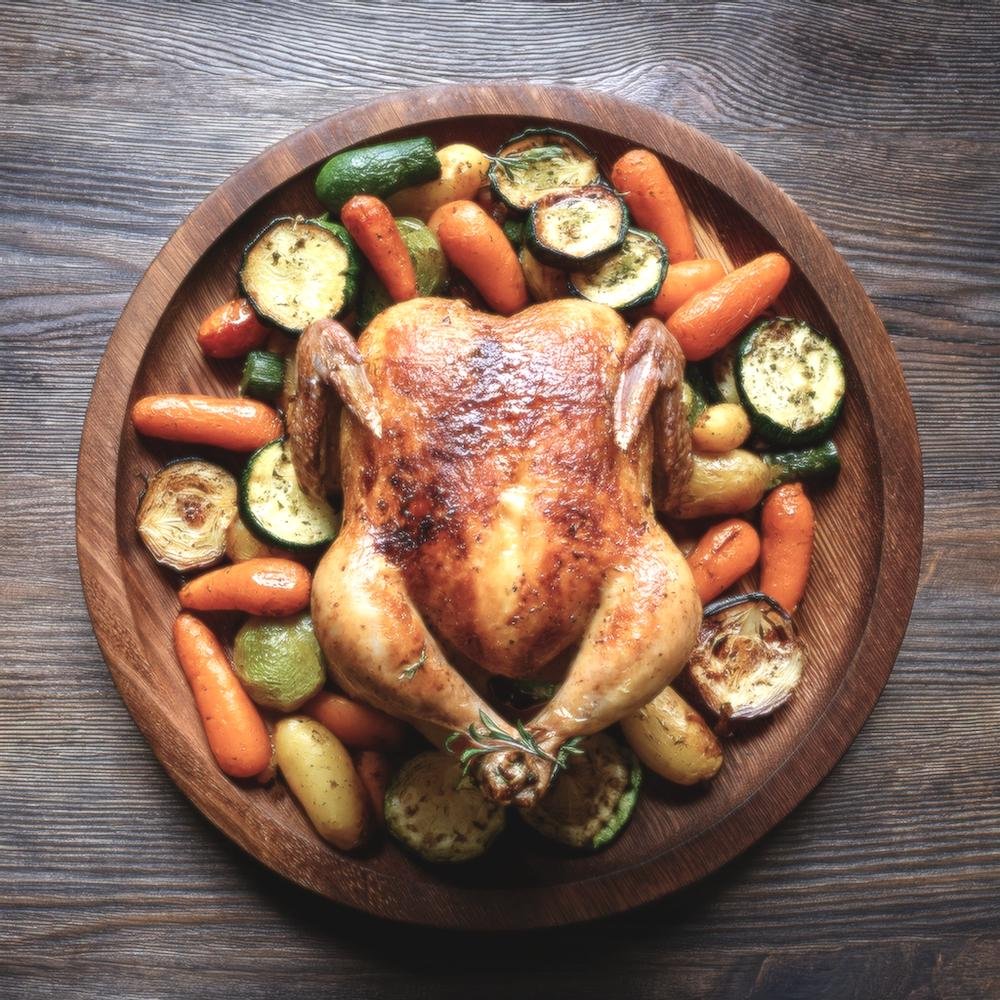
- Whole Chicken: Provides even cooking throughout, from the breast to the drumsticks.
Example Cooking Times at 350°F
- Boneless Chicken Breasts: 20–30 minutes
- Bone-In Thighs or Drumsticks: 40–50 minutes
- Whole Chicken: 20 minutes per pound, plus an additional 15 minutes
Pro Tip: Always use a meat thermometer to ensure the internal temperature reaches 165°F (74°C) for safe consumption.
The Case for Baking Chicken at 400°F
Baking chicken at 400°F is a faster method that emphasizes bold flavors and a crispy exterior.
Benefits of Baking at 400°F
- Crispy and Golden Skin:
- The high heat renders fat more effectively, creating a crisp, golden-brown exterior, especially for skin-on cuts.
- Reduced Cooking Time:
- The higher temperature shortens the cooking process, making it ideal for busy weeknights.
- Intense Flavors:
- The caramelization at 400°F enhances marinades and seasonings, giving the chicken a rich, flavorful crust.
Best Cuts for Baking at 400°F
- Chicken Thighs: Their higher fat content keeps them moist even at higher temperatures.
- Chicken Wings: Crisp up beautifully, perfect for appetizers.
- Bone-In Breasts: Retain moisture while developing a flavorful, crispy exterior.
Example Cooking Times at 400°F
- Boneless Chicken Breasts: 18–22 minutes
- Bone-In Thighs or Drumsticks: 35–45 minutes
- Chicken Wings: 20–25 minutes
Pro Tip: Spread chicken pieces evenly on a baking sheet without crowding to allow proper air circulation and crisping.
Key Considerations Is It Better to Bake Chicken at 350 or 400?
Choosing between baking chicken at 350°F or 400°F depends on several factors, including the type of chicken you’re cooking, your desired texture, and the amount of time you have available. Here are some key considerations to help you make the best decision:
1. Cut of Chicken
Different cuts of chicken have varying fat content and thickness, which influence how they respond to baking temperatures.
- Boneless, Skinless Breasts: Best baked at 350°F to prevent drying out. Their lean texture benefits from the slower, gentler cooking process.
- Thighs and Drumsticks: Thrive at 400°F due to their higher fat content, which keeps them juicy while crisping the skin.
- Whole Chicken: Baking at 350°F ensures even cooking, but 400°F can produce a crispier skin with careful monitoring.
- Chicken Wings: Crisp up beautifully at 400°F, especially when seasoned or coated with a dry rub.
Pro Tip: For mixed cuts, like thighs and breasts on the same tray, consider starting at 350°F and finishing at 400°F to achieve optimal results for all pieces.
2. Desired Outcome
The temperature you choose should align with the texture and flavor you want in your chicken.
- Juicy and Tender: If your priority is moist and tender meat, 350°F is your go-to temperature.
- Crispy and Flavorful: For a bold, crispy exterior, baking at 400°F is the better option, especially for skin-on pieces.
3. Time Constraints
How much time you have can also influence your decision:
- Quick Meals: Baking at 400°F reduces cooking time, making it ideal for weeknight dinners or last-minute prep.
- Slow and Steady: If you’re not in a rush, baking at 350°F gives you more control and reduces the risk of overcooking.
Pro Tip: Pair a faster cook time at 400°F with a simple marinade or rub for maximum flavor in less time.
4. Marinating and Seasoning
The choice of temperature also affects how marinades and seasonings interact with the chicken:
- At 350°F: Marinades have more time to infuse into the meat, resulting in deeper, more subtle flavors.
- At 400°F: Seasonings and marinades caramelize quickly, creating a robust, flavorful crust on the surface.
5. Equipment and Setup
The type of pan or dish you use can also impact the results:
- Baking Dish: A deep dish traps steam, which is better suited for 350°F to retain moisture.
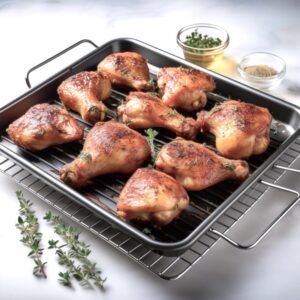
- Baking Sheet: Allows air circulation and crisping, making it ideal for 400°F. Use a wire rack on the baking sheet to elevate the chicken for even crisping.
Step-by-Step Guide for Baking Chicken
Whether you’re baking at 350°F or 400°F, following these steps will ensure perfectly cooked chicken every time.
Is It Better to Bake Chicken at 350 or 400?
1. Preheat the Oven
- Set the Temperature:
- Choose 350°F or 400°F based on the cut of chicken and your desired outcome.
- Prepare the Pan:
- For 350°F: Use a baking dish to retain moisture.
- For 400°F: Use a baking sheet with a wire rack to promote air circulation and crispiness.
- Line the Pan:
- Line with parchment paper or lightly grease the surface to prevent sticking.
2. Prepare the Chicken
- Trim and Pat Dry:
- Remove any excess fat and pat the chicken dry with paper towels to help the seasoning stick.
- Season Generously:
- Drizzle the chicken with olive oil or melted butter to enhance flavor and prevent sticking.
- Use a simple mix of salt, pepper, garlic powder, and paprika, or customize with your favorite spices.
- Optional Marinade:
- Marinate the chicken for at least 30 minutes (or overnight) for extra flavor. Popular options include lemon herb, garlic soy, or barbecue marinades.
3. Arrange the Chicken
- Single Layer:
- Place the chicken pieces in a single layer without overlapping. Overcrowding traps steam, which can prevent crisping.
- Bone-In Cuts:
- Position bone-in pieces with the bone side down for even cooking.
- Skin-On Cuts:
- For skin-on pieces, place the skin side up to achieve maximum crispiness.
4. Bake the Chicken
- Place in the Oven:
- For 350°F: Bake for the recommended times below, ensuring even cooking.
- For 400°F: Check for doneness slightly earlier to prevent overcooking.
- Cooking Times:
- 350°F:
- Boneless Breasts: 20–30 minutes
- Bone-In Thighs or Drumsticks: 40–50 minutes
- Whole Chicken: 20 minutes per pound, plus 15 minutes
- 400°F:
- Boneless Breasts: 18–22 minutes
- Bone-In Thighs or Drumsticks: 35–45 minutes
- Chicken Wings: 20–25 minutes
- 350°F:
Pro Tip: Rotate the pan halfway through cooking for even browning.
5. Check for Doneness
- Use a Meat Thermometer:
- Insert the thermometer into the thickest part of the chicken (without touching the bone). The internal temperature should reach 165°F (74°C).
- Visual Cues:
- The juices should run clear when the chicken is pierced with a knife. If the juices are pink, it needs more time.
6. Rest the Chicken
- Why Resting Is Important:
- Let the chicken rest for 5–10 minutes after removing it from the oven. This allows the juices to redistribute, ensuring tender, flavorful meat.
- Cover Loosely:
- Tent the chicken with foil while resting to keep it warm.
7. Serve and Enjoy
- Slice and Plate:
- Carve the chicken into portions or shred it for salads, tacos, or sandwiches.
- Pair with Sides:
- Serve with roasted vegetables, mashed potatoes, or a fresh green salad for a complete meal.
Common Mistakes to Avoid When Baking Chicken
Even with the best intentions, simple mistakes can lead to dry, overcooked, or underwhelming chicken. Avoid these common pitfalls to ensure your baked chicken turns out perfectly every time.
1. Overcooking or Undercooking
- Why It’s a Problem: Overcooked chicken becomes dry and tough, while undercooked chicken is unsafe to eat.
- How to Avoid:
- Use a meat thermometer to check that the internal temperature reaches 165°F (74°C).
- Avoid relying solely on visual cues, as different cuts can cook unevenly.
Pro Tip: Remove the chicken from the oven when it’s a few degrees shy of 165°F, as carryover cooking will bring it to the correct temperature while resting.
2. Skipping the Resting Step
- Why It’s a Problem: Slicing chicken immediately after baking causes the juices to escape, leaving the meat dry.
- How to Avoid:
- Let the chicken rest for 5–10 minutes after baking. This allows the juices to redistribute throughout the meat.
3. Not Using the Right Temperature for the Cut
- Why It’s a Problem: Lean cuts like chicken breasts dry out at high heat, while fatty cuts like thighs need higher temperatures for crispiness.
- How to Avoid:
- Use 350°F for tender cuts like breasts or whole chicken.
- Opt for 400°F for skin-on thighs, drumsticks, and wings for crispy results.
Pro Tip: Adjust the cooking time and temperature based on the size and fat content of the cut.
4. Crowding the Pan
- Why It’s a Problem: Crowded pans trap steam, preventing chicken from browning and crisping properly.
- How to Avoid:
- Arrange chicken in a single layer with space between pieces. Use multiple pans if necessary.
Pro Tip: Use a baking sheet with a wire rack to promote even air circulation.
5. Skipping Proper Preparation
- Why It’s a Problem: Skipping key prep steps like patting chicken dry or seasoning thoroughly can result in unevenly cooked or bland meat.
- How to Avoid:
- Always pat the chicken dry to remove excess moisture before seasoning.
- Coat with oil or melted butter to help the seasonings stick and enhance browning.
6. Not Adjusting for Bone-In vs. Boneless Cuts
- Why It’s a Problem: Bone-in chicken takes longer to cook than boneless cuts, leading to uneven results if not accounted for.
- How to Avoid:
- Adjust cooking times to reflect the cut: bone-in pieces generally require an additional 10–15 minutes.
7. Ignoring the Power of Marinades and Rubs
- Why It’s a Problem: Plain chicken can taste bland without proper seasoning or marinades.
- How to Avoid:
- Marinate chicken for at least 30 minutes before baking for deeper flavor.
- Use spice rubs for bold, crispy crusts.
8. Forgetting to Rotate or Monitor During Cooking
- Why It’s a Problem: Uneven cooking or burnt spots can occur if the chicken isn’t rotated during baking.
- How to Avoid:
- Rotate the pan halfway through baking for even browning.
- Check for doneness a few minutes before the recommended time to prevent overcooking.
FAQs “Is It Better to Bake Chicken at 350 or 400?”
Do You Bake Chicken at 400 Covered or Uncovered?
Uncovered for Crispiness: Baking chicken uncovered at 400°F is the best option if you’re cooking skin-on cuts like thighs, wings, or drumsticks. The high heat helps render fat and crisp the skin, creating a golden-brown exterior.
Covered for Moisture: If you’re cooking lean cuts like boneless breasts or baking a whole chicken, covering the chicken with foil can help retain moisture, especially in the first half of baking. Remove the foil in the last 10–15 minutes to allow browning.
Pro Tip: If baking covered, lightly oil the underside of the foil to prevent sticking.
Should Chicken Be Cooked at 350 or 400?
The best temperature depends on the cut of chicken and your desired results:
350°F: Ideal for lean cuts like chicken breasts or for slow baking whole chickens.
Produces tender, juicy meat by cooking evenly at a moderate temperature.
400°F: Best for skin-on cuts like thighs and wings or when you want a crisp, caramelized exterior.
Reduces cooking time, making it a faster method for busy weeknights.
Pro Tip: Use a thermometer to ensure the internal temperature reaches 165°F (74°C) regardless of the baking temperature.
How Long Do You Bake Chicken at 350 in the Oven?
The cooking time depends on the type and size of the chicken cut:
Boneless Chicken Breasts: 20–30 minutes
Bone-In Thighs or Drumsticks: 40–50 minutes
Whole Chicken: 20 minutes per pound, plus an additional 15 minutes
Pro Tip: Always check the internal temperature with a meat thermometer to confirm it has reached 165°F (74°C).
How Long Does Raw Chicken Take to Cook at 400 Degrees?
Cooking times for raw chicken at 400°F vary by cut:
Boneless Chicken Breasts: 18–22 minutes
Bone-In Thighs or Drumsticks: 35–45 minutes
Chicken Wings: 20–25 minutes
Pro Tip: Rotate the pan halfway through cooking to ensure even browning and prevent overcooking. Always check the internal temperature before serving.
Suggested Internal Links :
- What Does Tarragon Taste Like in Chicken?
Discover how tarragon enhances the flavor of baked chicken, whether at 350°F or 400°F. - Thin-Sliced Chicken Breast Recipes
Explore recipes tailored for baking thin-sliced chicken to achieve optimal results. - What is Tarragon Dressing Made Of?
Pair your baked chicken with a creamy and flavorful tarragon dressing. - What Are the Five Mistakes to Avoid in Pasta Salad?
Complement your baked chicken with a perfectly prepared pasta salad as a side dish. - Tarragon Chicken Salad: A Fresh and Flavorful Dish
Transform baked chicken leftovers into a delicious tarragon chicken salad.
Conclusion
Choosing the right temperature to bake chicken—whether 350°F or 400°F—depends on your desired results, the cut of chicken, and how much time you have. Is it better to bake chicken at 350 or 400? If you prefer tender and juicy results, 350°F works best for lean cuts like boneless breasts and whole chickens. For crisp skin and bold, caramelized flavors, 400°F is ideal for skin-on pieces like thighs and wings.
By following recommended cooking times, using a meat thermometer, and avoiding common mistakes, you can consistently bake flavorful and perfectly cooked chicken. When deciding “Is it better to bake chicken at 350 or 400?”, consider experimenting with both methods to suit your favorite recipes.
Whether you’re preparing a quick weeknight meal or a hearty family dinner, baking chicken at the right temperature unlocks a world of delicious possibilities. Happy cooking!
Craving more tasty recipes? Make sure to follow us on Facebook , Instagram, Pinterest, and Twitter for daily updates and kitchen inspiration!
