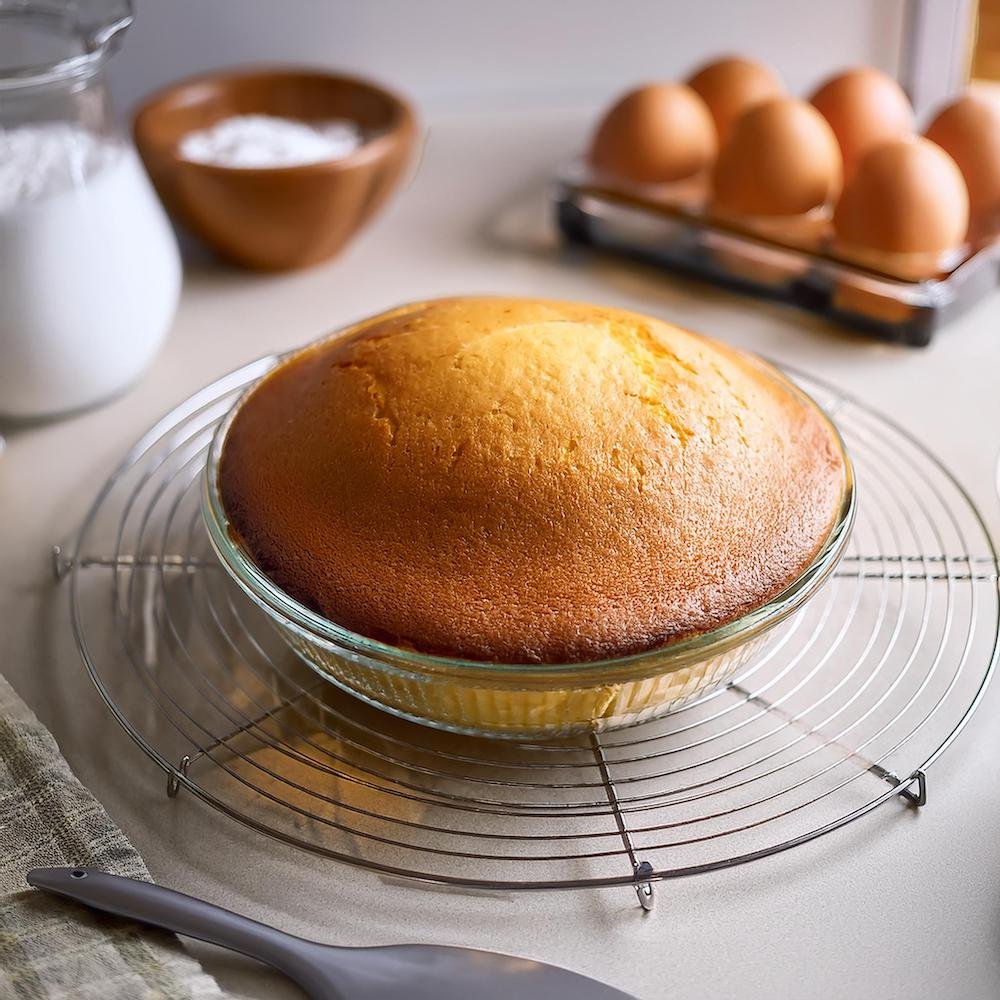
Baking a cake in a Pyrex bowl is a clever way to achieve a dome-shaped cake without the need for specialty pans. It’s perfect for creating unique designs like Barbie cakes, sports-themed cakes, or whimsical igloo cakes. Pyrex bowls are versatile, heat-safe, and widely available, making them an excellent choice for home bakers looking to experiment. But how long to bake a cake in a Pyrex bowl? The answer depends on understanding the nuances of using this glassware for baking.
The key to success lies in grasping the differences between a Pyrex bowl and traditional cake pans. Since Pyrex bowls are thicker and deeper, they require careful adjustments to the baking time and temperature to ensure even cooking. This guide provides all the information you need, from preparation to timing, to achieve a perfectly baked cake in a Pyrex bowl.
Let’s dive into the steps, tips, and detailed advice for mastering this unique baking method while uncovering how long to bake a cake in a Pyrex bowl for best results.
Preparing a Cake in a Pyrex Bowl
Baking a cake in a Pyrex bowl can result in a beautifully rounded shape, perfect for sculpted or dome-style cakes like Barbie cakes. Below is a detailed explanation to help you choose, prepare, and bake successfully using a Pyrex bowl.
Choosing the Right Pyrex Bowl
Size Matters
- Recommended Size: A 1.5 to 2-quart Pyrex bowl is ideal for most standard cake recipes. If you’re making a larger or multi-layered cake, you may need to divide the batter among several bowls or adjust the recipe for a larger bowl.
- Pro Tip: Consider the height of the bowl. Taller bowls require careful monitoring to ensure the center of the cake bakes evenly without overcooking the edges.
Heat-Safe Labels
- Why It’s Important: Not all Pyrex bowls are designed for oven use. Look for a label that specifies the bowl is oven-safe, typically found on the bottom or packaging. Using a non-heat-safe bowl risks cracking or shattering in the oven.
- Pro Tip: Avoid bowls with visible chips or cracks, as they may weaken under heat and compromise your bake.
Prepping the Bowl
Grease Thoroughly
- Why It’s Necessary: Pyrex has a smooth surface that can cause cakes to stick. Greasing ensures your cake releases cleanly, preserving the bowl’s shape and preventing frustration.
- How to Grease: Use room-temperature butter or a non-stick spray. Apply an even coat with a pastry brush or paper towel, making sure to cover every crevice.
Dust the Bowl with Flour
- Why It Helps: Adding a light dusting of flour over the greased surface provides an extra non-stick layer and helps create a thin crust that releases easily.
- Pro Tip: Shake the bowl gently to distribute the flour evenly, then tap out the excess.
Line the Bottom (Optional)
- Purpose: Parchment paper can add insurance against sticking, especially for deep cakes.
- How to Line: Trace the bottom of the Pyrex bowl onto a sheet of parchment paper and cut out a circle. Place it on the bottom after greasing and dusting.
Adjusting the Recipe
Batter Volume
- Why It’s Crucial: Cakes baked in Pyrex bowls rise higher in the center due to the shape. Filling the bowl more than halfway risks overflow and uneven baking.
- How to Measure: Use a ladle or measuring cup to fill the bowl halfway with batter. If extra batter remains, consider baking a separate smaller cake or cupcakes.
Temperature Adjustment
- Why Adjust? Pyrex is thicker than standard cake pans and conducts heat differently. Reducing the baking temperature prevents overcooking the edges while the center bakes.
- How Much to Adjust: Lower the oven temperature by 25°F (14°C) compared to the recipe’s standard instructions. For example, if your recipe calls for 350°F (175°C), set your oven to 325°F (162°C).
- Pro Tip: Use an oven thermometer to ensure accuracy, as built-in oven dials can be imprecise.
Additional Tips for Baking in a Pyrex Bowl
- Monitor Baking Time
- Pyrex bowls often require longer baking times due to the thick glass and dome shape. Check for doneness at the recipe’s minimum time, then every 5–10 minutes thereafter.
- Use a toothpick or skewer inserted into the center; the cake is done when it comes out clean or with a few moist crumbs.
- Even Baking
- If you notice the edges browning too quickly, tent the top with aluminum foil midway through baking to protect it from overbaking.
- Cooling the Cake
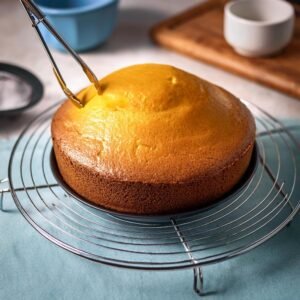
- Let the cake cool in the bowl for 10–15 minutes before attempting to remove it. Pyrex retains heat, so rushing removal can cause the cake to break.
- Gently run a thin knife around the edge of the bowl to loosen the cake before turning it out onto a cooling rack.
- Leveling the Cake
- Once the cake is fully cooled, trim the rounded base (the bottom of the bowl during baking) with a serrated knife to create a flat surface. This helps the cake sit evenly for stacking or decorating.
By carefully selecting, preparing, and adjusting for your Pyrex bowl, you’ll achieve a perfectly baked dome-shaped cake that’s ready for decoration. These steps not only improve the appearance of your cake but also make the baking process smoother and more enjoyable. Happy baking! 🎂
How Long to Bake a Cake in a Pyrex Bowl
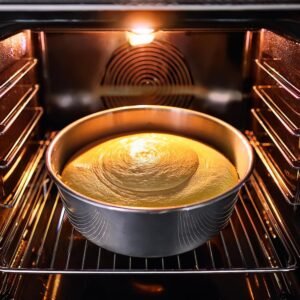
Baking a cake in a Pyrex bowl requires adjusting both temperature and baking time to ensure even cooking and a perfectly moist cake. Follow these guidelines to achieve the best results:
Recommended Temperature
- Lower the Heat:
- Set the oven to 325°F (160°C). This lower temperature prevents the exterior of the cake from overbaking or browning too quickly while allowing the center to cook evenly.
- Why It’s Necessary:
- The thicker glass of a Pyrex bowl conducts heat differently from metal pans, which can lead to uneven cooking if the temperature is too high.
Baking Time
The baking time will vary depending on the size of your Pyrex bowl and the amount of batter. Use these estimates as a guideline:
- Small Pyrex Bowl (1 Quart):
- Bake for 40–50 minutes.
- Medium Pyrex Bowl (1.5–2 Quarts):
- Bake for 50–70 minutes.
- Large Pyrex Bowl (2.5–3 Quarts):
- Bake for 70–90 minutes.
Tip: Start checking for doneness at the minimum recommended time.
Checking for Doneness
- Toothpick Test:
- Insert a toothpick or skewer into the center of the cake. If it comes out clean or with a few crumbs, the cake is done.
- Surface Appearance:
- The top should be golden brown and firm to the touch.
- Internal Temperature:
- Use a food thermometer to check the internal temperature, which should reach 200°F (93°C) for a fully baked cake.
Tips for Baking a Cake in a Pyrex Bowl
Baking a cake in a Pyrex bowl can be a seamless experience with the right techniques. These expert tips will help you achieve an evenly baked, perfectly shaped cake every time.
Ensure Even Baking
- Lower the Oven Rack:
- Place the Pyrex bowl on the middle or lower rack of the oven to avoid overbaking the top.
- Use an Oven Thermometer:
- Verify the oven temperature to prevent overheating, as Pyrex bowls can bake unevenly if the heat is too high.
Prevent Sticking
- Double Coat with Grease and Flour:
- Apply a thorough layer of butter or non-stick spray, followed by a dusting of flour, to prevent the cake from sticking to the glass.
- Line with Parchment Paper:
- If possible, place a small piece of parchment paper at the bottom of the bowl for added insurance.
Adjust for Depth
- Batter Height:
- Fill the Pyrex bowl no more than halfway to allow room for the batter to rise. Overfilling can cause the cake to overflow or bake unevenly.
- Use Smaller Portions for Larger Bowls:
- If using a large bowl, divide the batter into smaller batches for more even baking.
Avoid Overbaking
- Cover the Top if Needed:
- If the top starts browning too quickly, loosely cover the bowl with aluminum foil during the last 15–20 minutes of baking.
- Test Frequently:
- Begin checking for doneness 5–10 minutes before the recommended time to avoid overcooking.
Cool Properly Before Removing
- Let it Cool:
- Allow the cake to cool in the Pyrex bowl for 15–20 minutes before attempting to remove it.
- Loosen the Edges:
- Run a knife gently around the edges to loosen the cake before inverting it onto a cooling rack.
Pro Tip: If the cake sticks slightly, place a damp towel over the bottom of the bowl for a few minutes to release the cake easily.
Creative Uses for Cakes Baked in Pyrex Bowls
Cakes baked in Pyrex bowls are not only delicious but also versatile for creating unique designs. The dome-shaped result can serve as the base for a variety of creative cake ideas. Here are some inspiring ways to use them:
Barbie Doll Cake
- Perfect Gown Shape:
- The dome shape forms the skirt of a Barbie doll cake, making it ideal for princess-themed parties.
- Assembly:
- Insert a wrapped Barbie doll into the center and decorate with piped frosting or fondant to resemble a gown.
Sports Ball Cake
- Great for Sports Themes:
- Bake two dome cakes and place them together to form a sphere.
- Design Ideas:
- Decorate as a basketball, soccer ball, or baseball using colored frosting or fondant.
Igloo Cake
- Winter Wonderland Themes:
- Use the dome shape as an igloo base for holiday or winter-themed events.
- Decoration Tips:
- Cover the cake in white frosting, create “blocks” using a butter knife, and add a small entrance with fondant or cake scraps.
Animal-Themed Cakes
- Cute and Fun Designs:
- Use the dome shape to create animals like a turtle, ladybug, or hedgehog.
- Steps:
- Decorate the dome as the body and use additional cake pieces or fondant for features like heads, legs, and tails.
Planet Cake
- Out-of-This-World Desserts:
- Use two dome cakes to create a spherical cake resembling a planet.
- Design:
- Cover in colored fondant and add edible stars or moons for a cosmic effect.
Wedding or Celebration Cake Topper
- Miniature Dome Cake:
- Bake a small dome-shaped cake to serve as the top tier of a wedding or celebration cake.
- Elegant Decorations:
- Add edible flowers, gold leaf, or pearls for a sophisticated touch.
FAQs :
Can I Bake a Cake in a Pyrex Glass Bowl?
Yes, you can bake a cake in a Pyrex glass bowl, as long as it is oven-safe. Pyrex bowls are ideal for creating dome-shaped cakes, such as those for Barbie doll cakes, sports balls, or igloo designs.
Tips for Baking in Pyrex:
Grease and flour the bowl thoroughly to prevent sticking.
Bake at a lower temperature (325°F/160°C) to allow the heat to distribute evenly.
Avoid extreme temperature changes, such as placing a hot Pyrex bowl on a cold surface, as this could cause it to crack.
Does Baking in Pyrex Take Longer?
Yes, baking in Pyrex typically takes longer than baking in a metal pan. This is because glass is a slower conductor of heat compared to metal. It takes time to heat up, but once heated, it retains heat for a longer period.
How to Adjust for Longer Baking:
Lower the oven temperature by 25°F (14°C) to avoid overbrowning the edges.
Add an extra 10–15 minutes to the baking time, depending on the depth of the bowl.
How Long Does It Take to Bake a Cake in a Glass Bowl?
The baking time depends on the size and depth of the bowl. Use these general guidelines:
Small Bowls (1 Quart): 40–50 minutes
Medium Bowls (1.5–2 Quarts): 50–70 minutes
Large Bowls (2.5–3 Quarts): 70–90 minutes
Tip: Start checking for doneness at the minimum time and use the toothpick test or internal temperature check (200°F/93°C) to confirm.
Can I Use a Pyrex Instead of a Cake Pan?
Yes, you can use a Pyrex bowl or dish as a substitute for a cake pan, provided it’s oven-safe. However, adjustments may be needed:
Baking Time and Temperature: Lower the oven temperature by 25°F (14°C) and extend the baking time slightly.
Shape Considerations: Pyrex bowls are deeper than typical cake pans, so you may need to cut the cake horizontally into layers after baking.
Greasing: Grease and flour the Pyrex thoroughly to ensure easy removal of the cake.
Pro Tip: Pyrex is a great alternative when you need unique shapes, such as domes or spheres, but may not be ideal for flat-layered cakes.
Suggested Internal Links :
- Barbie Cake Recipe: A Showstopper for Special Occasions
Explore how to use your dome-shaped cake from a Pyrex bowl to create an eye-catching Barbie-themed cake. - Crab Brûlée Recipe: A Luxurious Savory Delight
Pair your creative baking efforts with a sophisticated appetizer like crab brûlée for an elegant occasion. - How to Make a Unicorn Cake?
Transform your Pyrex bowl-baked cake into a magical unicorn masterpiece with creative decorations. - What’s the Best Way to Store Cookies?
Learn proper storage techniques for desserts, including cakes baked in unique shapes. - What Is the Secret Ingredient to Keep Cookies Soft?
Use similar principles for ensuring softness in cookies when working with cakes to achieve moist and tender results.
Table of Contents
Conclusion
Baking a cake in a Pyrex glass bowl is an excellent way to achieve unique shapes for creative designs like domes, spheres, or themed cakes. While it requires some adjustments in baking time and temperature due to the properties of glass, the results can be stunning and versatile. By lowering the oven temperature, allowing extra time for even baking, and carefully preparing the bowl, you can create a perfectly baked cake that’s easy to decorate and serve.
Whether you’re making a Barbie cake, a sports-themed dessert, or experimenting with new shapes, a Pyrex bowl offers endless possibilities for creativity in the kitchen. With the tips and techniques shared in this guide, you’re ready to confidently bake a cake in a Pyrex bowl and wow your family and friends with the results. Happy baking!
Craving more tasty recipes? Make sure to follow us on Facebook , Instagram, Pinterest, and Twitter for daily updates and kitchen inspiration!
