
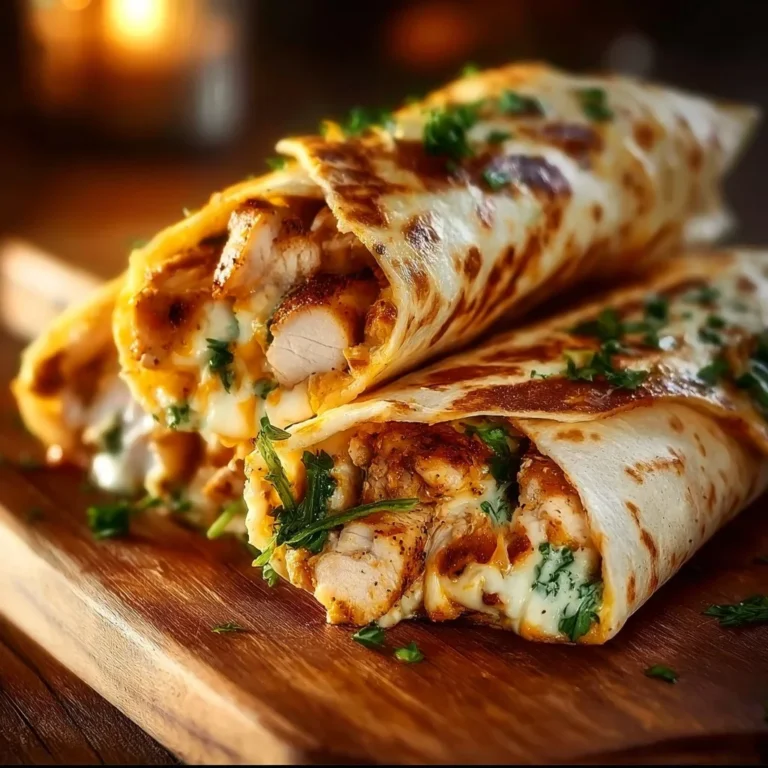
Cheesy Garlic Chicken Wraps are the ultimate solution for a delicious, satisfying meal that can be whipped up in no time. Imagine tender chicken, perfectly infused with aromatic garlic, enveloped in warm tortillas and gooey, melted cheese. Whether it’s a busy weekday dinner or a weekend family gathering, these wraps bring comfort food to a whole new level. Plus, they’re endlessly customizable—your choice of toppings can make each wrap uniquely yours. Let’s dive into why you’ll want to add this recipe to your collection!
Why You’ll Love This Dish
This recipe stands out not just for its flavor but for its ease of preparation. Cheesy Garlic Chicken Wraps are quick to make, budget-friendly, and kid-approved, making them a fantastic choice for busy weeknights. You can have a satisfying meal on the table in less than 30 minutes, and it’s perfect for those evenings when everyone’s looking for something familiar yet delicious.
“The Cheesy Garlic Chicken Wraps were a hit at our family dinner! Even the kids loved them, and I appreciated how simple they were to make. This is definitely going in our regular rotation!” – Sarah M.
Step-by-Step Overview
Getting into the kitchen and whipping up Cheesy Garlic Chicken Wraps is a straightforward process, perfect for both novice cooks and those with more experience. The sequence is all about flavor layering: first, you’ll sauté the chicken with garlic, then you’ll load it into warm tortillas with cheese and fresh lettuce before rolling everything up. With just a few simple steps, you can create a dish that feels like comfort food but comes together quickly.
Gather These Items
Here’s what you’ll need to create your own Cheesy Garlic Chicken Wraps:
- Chicken Breast: The star of the dish, providing protein and flavor.
- Tortillas: Use flour or corn—whichever you prefer for wrapping.
- Shredded Cheese: Cheddar or mozzarella will work beautifully.
- Garlic: Freshly minced for the best aroma.
- Olive Oil: For cooking the chicken.
- Salt and Pepper: Essential for seasoning.
- Lettuce: For added crunch and freshness.
- Optional Toppings: Think salsa, sour cream, guacamole, or even diced tomatoes for extra flair.
Feel free to customize by using cooked chicken or leftover rotisserie chicken if you’re short on time!
Directions to Follow
- Begin by cooking the chicken breast in olive oil over medium heat until it’s fully cooked—about 6-8 minutes on each side.
- Once the chicken is cooked, add the minced garlic and sauté for an additional 1-2 minutes until fragrant.
- Season generously with salt and pepper to taste.
- Meanwhile, warm the tortillas in a separate pan until pliable.
- On each tortilla, layer the cooked chicken, shredded cheese, and fresh lettuce.
- Roll up the wraps tightly to keep all the delicious fillings secure.
- If you like, grill the wraps on a hot pan for 1-2 minutes per side, until the cheese is melted, and the wraps are golden brown.
- Serve with your choice of toppings for extra flavor and fun!
Best Ways to Enjoy It
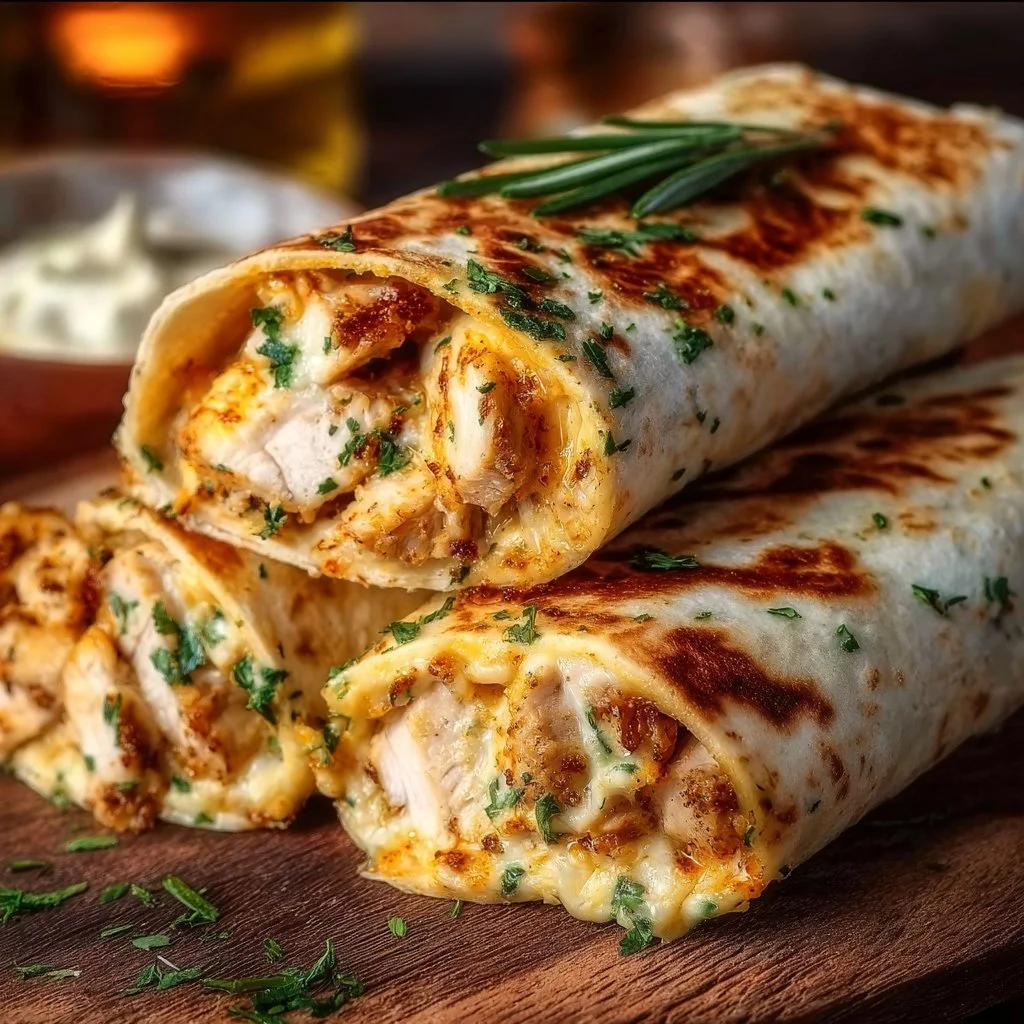
When it comes to serving Cheesy Garlic Chicken Wraps, presentation matters! You can slice them in half for an appealing display on a platter. Serve with a side of tortilla chips and salsa, or a fresh garden salad to balance out the meal. If you want to take it up a notch, offer a spread of dips like sour cream, guacamole, or even a zesty ranch dressing. The options are endless!
Keeping Leftovers Fresh
To best store your leftover Cheesy Garlic Chicken Wraps, let them cool completely before placing them in an airtight container. They can be kept in the refrigerator for up to 3 days. If you want to freeze them, make sure to wrap them tightly in plastic wrap and then place them in a freezer-safe bag. They should maintain their quality for up to 2 months, making it easy to have a quick meal on hand!
Handy Cooking Tips
- Chicken Alternatives: You can swap the chicken for turkey or even sautéed veggies for a vegetarian option.
- Customize Your Cheese: Experiment with different types of cheese—pepper jack can add a spicy kick, while feta gives a unique tang.
- Make Ahead: Prep your chicken and garlic in advance, refrigerating until you’re ready to assemble your wraps. This will save you time when you’re ready to cook.
Creative Twists
Don’t be afraid to put your spin on Cheesy Garlic Chicken Wraps! Consider adding cooked bell peppers or onions for extra flavor. You might also try different herbs and spices like cumin or paprika to change the flavor profile. For a lighter touch, swap out the regular tortillas for whole grain or lettuce wraps!
Your Questions Answered
1. How long does it take to make Cheesy Garlic Chicken Wraps?
Preparation and cooking time is typically around 30 minutes, making it a quick meal option for busy nights.
2. Can I use leftover chicken for this recipe?
Absolutely! Using leftover or rotisserie chicken is a great time-saver and works perfectly in these wraps.
3. What type of cheese should I use?
Both cheddar and mozzarella are fantastic choices for these wraps. Choose your favorite or mix them for a flavor boost!
4. Any tips for a gluten-free option?
Substituting regular tortillas with gluten-free wraps or lettuce leaves makes this dish safely gluten-free.
5. How can I keep the wraps from getting soggy?
To prevent sogginess, make sure the chicken is not overly greasy and serve the wraps immediately after assembling them.
6. Can I grill the wraps ahead of time?
While it’s best to grill them just before serving, you can prepare the wraps and then grill them when you’re ready to eat.
7. What are some good side dishes to serve with these wraps?
Pair them with a simple side salad, sweet potato fries, or a bowl of hearty soup for a well-rounded meal.
8. How should I store leftovers?
Place any leftovers in an airtight container in the fridge for up to 3 days or freeze them for longer storage.
With these Cheesy Garlic Chicken Wraps, you’re not just preparing a meal; you’re creating an experience that’s flavorful, satisfying, and perfect for sharing. Enjoy every bite!

Cheesy Garlic Chicken Wraps
Ingredients
Method
- Cook the chicken breast in olive oil over medium heat until fully cooked—about 6-8 minutes on each side.
- Add the minced garlic to the cooked chicken and sauté for an additional 1-2 minutes until fragrant.
- Season the chicken generously with salt and pepper to taste.
- Warm the tortillas in a separate pan until pliable.
- On each tortilla, layer the cooked chicken, shredded cheese, and fresh lettuce.
- Roll up the wraps tightly to keep all the delicious fillings secure.
- Optionally, grill the wraps on a hot pan for 1-2 minutes per side, until the cheese is melted and the wraps are golden brown.
- Slice the wraps in half for an appealing display on a platter.
- Serve with a side of tortilla chips and salsa, or a fresh garden salad.