

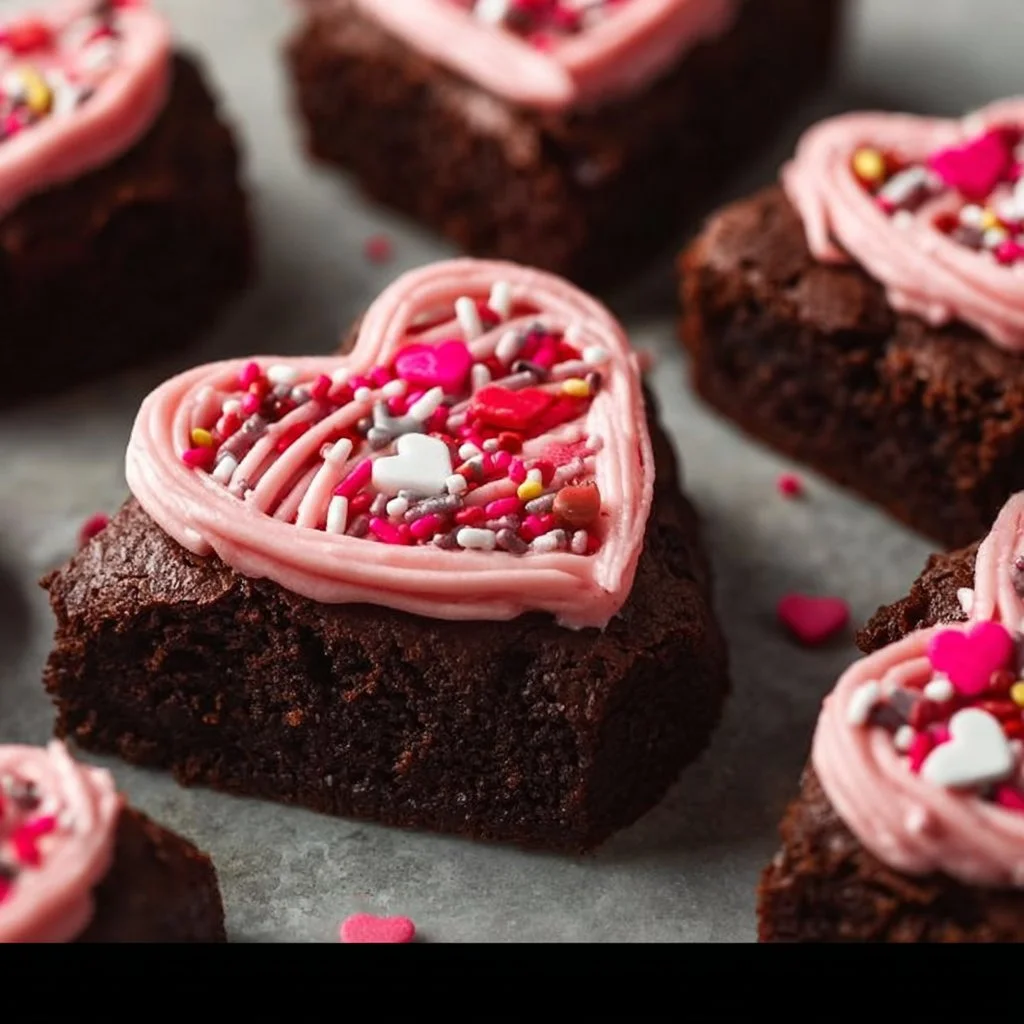
Ah, Valentine’s Day! It’s that special time of year to express love, and what better way to do so than with a batch of rich, chocolatey brownies topped with luscious frosting? These Valentine’s Day brownies are not just any ordinary dessert; they are effortlessly delightful and bring a smile to anyone’s face. With their fudgy texture and sweet finish, they are perfect for sharing with your beloved or indulging in yourself. I’ve made these many times, and every batch disappears in no time!
What Makes This Recipe Special
These brownies are an absolute crowd-pleaser, combining simplicity with decadent flavor. You’ll love how quick and budget-friendly they are, making them perfect for unexpected visitors or romantic surprise evenings. Whether you’re baking with kids or preparing a treat for your sweetheart, this recipe is foolproof and yields a batch that’s undeniably delicious.
“These brownies are a game-changer! They’re rich, fudgy, and the frosting takes them to another level. I made them for Valentine’s Day, and my girlfriend couldn’t get enough!” — A Happy Baker
Preparing Valentine’s Day Brownies with Frosting
Making these Valentine’s Day brownies is a breeze! You’ll start by preheating your oven and preparing your baking dish, then melt some butter and mix it with sugar until smooth. As you add the eggs and vanilla, your mixture will become rich and creamy. Next, combine your dry ingredients separately, and then gently fold them into your wet mixture. Once poured into the baking dish, these brownies will bake to perfection in about 20-25 minutes. After cooling, add frosting and perhaps some sprinkles for an added touch of love!
What You’ll Need
To get started, gather these ingredients:
- 1 cup unsalted butter
- 2 cups granulated sugar
- 4 large eggs
- 1 teaspoon vanilla extract
- 1 cup all-purpose flour
- 1 cup cocoa powder
- 1/2 teaspoon salt
- 1/2 teaspoon baking powder
- 1 cup frosting (store-bought or homemade)
- Sprinkles (optional, for decoration)
Feel free to replace the granulated sugar with coconut sugar for a healthier twist, or use gluten-free all-purpose flour if you prefer.
Step-by-Step Instructions
- Preheat your oven to 350°F (175°C) and lightly grease a 9×13 inch baking dish.
- In a large bowl, melt the butter and mix in the granulated sugar until fully combined.
- Add the eggs, one at a time, ensuring to mix well after each addition. Stir in the vanilla extract.
- In a separate bowl, whisk together the flour, cocoa powder, salt, and baking powder.
- Gradually fold the dry ingredients into the buttery mixture until just combined.
- Transfer the batter to the greased baking dish and spread it evenly.
- Bake for 20-25 minutes, or until a toothpick inserted into the center comes out mostly clean.
- Let the brownies cool completely before frosting.
- Once cooled, generously spread your chosen frosting on top and sprinkle with decorations if desired.
- Cut into squares, serve, and enjoy!
Best Ways to Enjoy It
These brownies are best enjoyed fresh out of the pan, but there are several delightful ways to serve them. Try pairing them with a scoop of vanilla ice cream for an indulgent dessert experience. You could also serve them with fresh strawberries or raspberries to balance the sweetness! For a fun party twist, set up a brownie bar with various toppings like whipped cream, nuts, or chocolate syrup.
Storage and Reheating Tips
To keep your brownies fresh, store them in an airtight container at room temperature for up to four days. If you want to enjoy them later, you can freeze the un-frosted brownies for up to 3 months. Just make sure to wrap them tightly in plastic wrap and then in aluminum foil. When you’re ready to serve, let them thaw at room temperature and frost them fresh for the best taste!
Pro Chef Tips
- For an extra fudgy texture, consider underbaking them slightly, so they’re still soft in the center.
- If you like a bit of crunch, add chopped nuts like walnuts or pecans to the batter before baking.
- Experiment with flavored extracts or different frostings, like cream cheese or chocolate ganache, to elevate the flavor profile.
Creative Twists
Want to make these brownies even more special? Consider adding a hint of peppermint extract for a minty twist, or swirl in some peanut butter before baking for a delicious marbled effect. For a seasonal spin, try adding a layer of strawberry or raspberry jam beneath the frosting, mimicking the beautiful colors of Valentine’s Day!
Your Questions Answered
What is the prep time for these brownies?
Prep time is around 15 minutes, with a bake time of 20-25 minutes. Altogether, it’s a quick and easy recipe!
Can I use alternatives for the butter?
Yes! You can substitute unsalted butter with coconut oil or vegan butter for a dairy-free version.
What if I don’t have eggs?
If you need an egg substitute, use 1/4 cup unsweetened applesauce or mashed banana per egg.
How should I store leftovers?
Keep them in an airtight container at room temperature for up to 4 days or freeze for up to 3 months.
Can these brownies be made in advance?
Absolutely! The brownies can be baked ahead of time and frosted later, making them perfect for parties or special occasions.
What kind of frosting works best?
While store-bought frosting is convenient, homemade chocolate ganache or a simple buttercream adds a lovely homemade touch.
Are these brownies safe to eat if left out overnight?
As long as they are stored in an airtight container, they should be fine overnight, but for optimal freshness, refrigerate if you’re concerned.
How do I know when my brownies are done baking?
Brownies are done when the edges are set, and a toothpick inserted into the center comes out mostly clean, with a few moist crumbs attached.
Get ready to swoon over these irresistible Valentine’s Day brownies! Whether for a loved one or a personal treat, they are sure to delight.
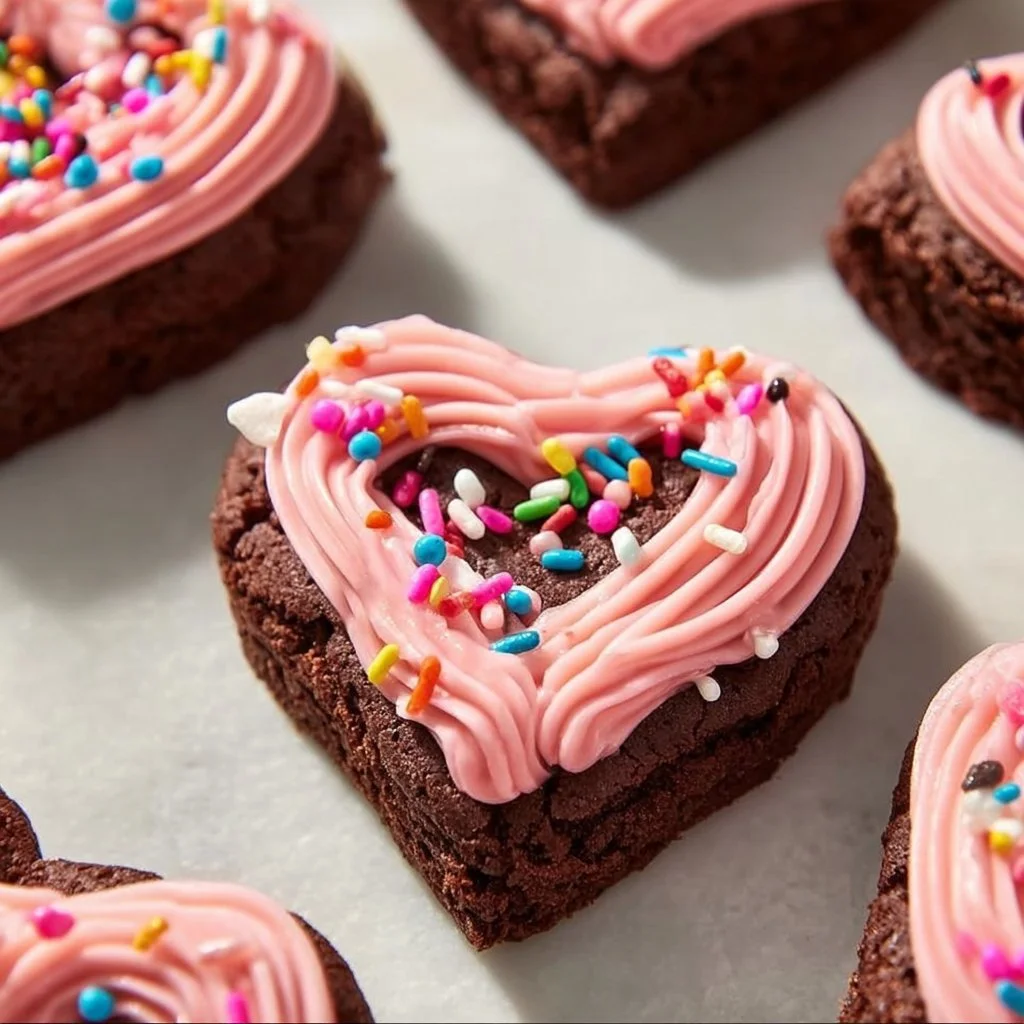
Valentine's Day Brownies with Frosting
Ingredients
Method
- Preheat your oven to 350°F (175°C) and lightly grease a 9x13 inch baking dish.
- In a large bowl, melt the butter and mix in the granulated sugar until fully combined.
- Add the eggs, one at a time, ensuring to mix well after each addition. Stir in the vanilla extract.
- In a separate bowl, whisk together the flour, cocoa powder, salt, and baking powder.
- Gradually fold the dry ingredients into the buttery mixture until just combined.
- Transfer the batter to the greased baking dish and spread it evenly.
- Bake for 20-25 minutes, or until a toothpick inserted into the center comes out mostly clean.
- Let the brownies cool completely before frosting.
- Once cooled, generously spread your chosen frosting on top and sprinkle with decorations if desired.
- Cut into squares, serve, and enjoy!